Now that we had a empty doll-house we needed to make some furniture and get in the dolls. The Autumn brought a lot of work, homework and activities. So we waited for a dull weekend in December to work on our long term project, the doll house. During the Autumn I saved a lot of different stuff that could be used in this project, somehow. Sometimes it is hard to tell the difference between saving garbage and potential and "art" materials. This time the 9 year old was at a friends' home baking so I sat with the 5 year old and we made the beds and a lamp together.
The beds:
We used old cardboard that I don't even remember what they housed before turning into the doll's beds.


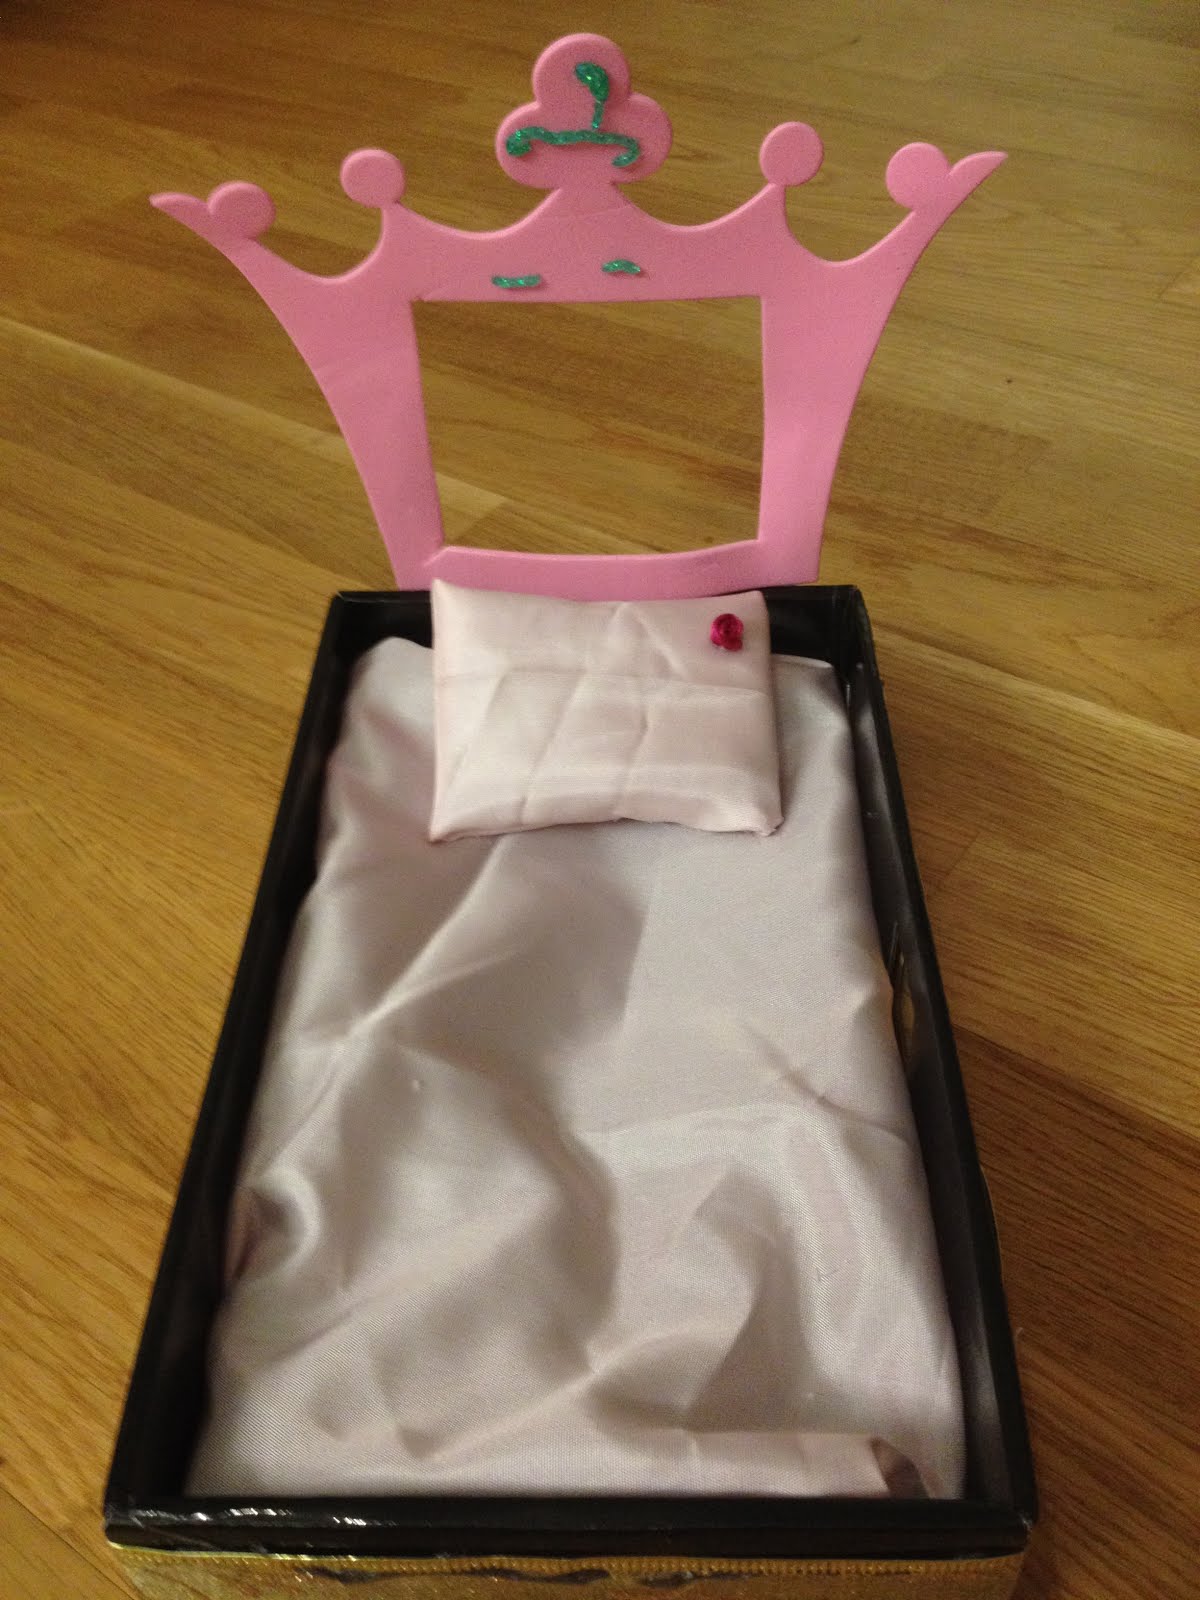
Using ribbons from last Christmas and my favorite tool (the hot glue gun) we decorated the sides of the beds. To do the headboard of one the beds we used a crown my daughter got in a Princess magazine, glue paint and drinking straws.


On the other bed we used a plain hard paper, the kind of paper you can use to do postcards. We glued a ribbon on the top and a golden star in the middle. To do the mattresses I took some cleaned old clothes and cut them in order to fit the beds. I wrapped a lining fabric around them. I could have ironed it, but once again this is a quality time project with no ambitions for perfection. So I struggled with myself and accepted it to be wrinkled.


The lamp:
I save a lot of stuff... like corks and the metal around some of them. The metal part was perfect to use when we made a lamp for the doll-house. We just took the round metal holder and voilá the only thing we needed was to glue on a fabric.


The next step was to put it on the doll-house's ceiling... I just took a needle and thread and made a simple hanging device that was glued on to the ceiling with my sweet blue hot glue gun.
 |
| A not so good picture that shows the lamp attached to the ceiling. |
 |
| Four happy dolls on their new beds! |
So now we have a doll-house with two beds and a ceiling lamp. The Christmas holidays are near for the kids and me (I'am a teacher working almost full time). Let us see what we can make for our doll-house together and what kind of stuff we will use. The doll-house saga will continue...


